2 Effective Ways to Transfer Data from Mac to Mac!
Are you someone who wants to transfer data from mac to mac? Then you are at the right place! Using this handy feature, you can start using your new Mac right away without wasting time in setting it up!
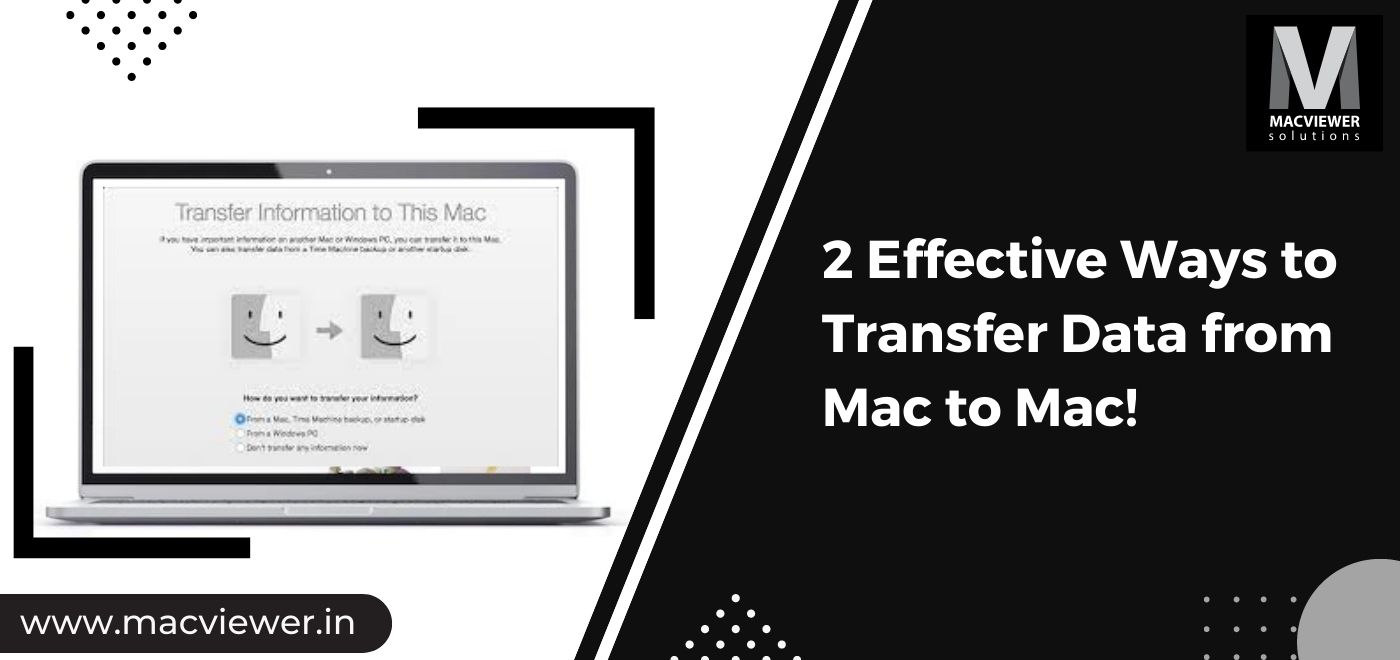
Apple has rolled out a fantastic feature in their Macs that allows seamless transfer of all data from one device to another. Called Migration Assistant, any new or old Mac user can easily carry out a mac to mac data transfer smoothly. This feature is reliable, and you can find it in the Utilities section of your Applications.
What the feature does is that it copies all existing files from your current Mac and sends them over to the new Mac automatically at once. The feature does this either from a Time Machine backup or directly. You can find the steps to do both in this blog.
To effectively transfer data from Mac to Mac, you will first need to make sure to connect both devices via Wi-Fi. You can also use Thunderbolt, Ethernet, or FireWire.
But wait! Before starting off there are a few factors you need to check. Make sure these necessary steps are completed before you start to transfer data from Mac to Mac:
- Update the software of both your Macs.
- Make sure both your Macs are named. You can do this via System Preferences → Sharing → Computer Name
- Both Macs should be connected to a power source securely. The process might take up time and energy, so it’s safer to have your Macs plugged in.
- Turn off any firewall or antivirus software on both your Macs for the time being.
Here are 2 easy ways to transfer data from Mac to Mac using Migration Assistant!

How to Transfer Data from Mac to Mac Using Migration Assistance?
A. Transfer from “Other Mac”
Apple’s built-in feature is a reliable and quick way to transfer data from mac to mac. Follow these steps precisely:
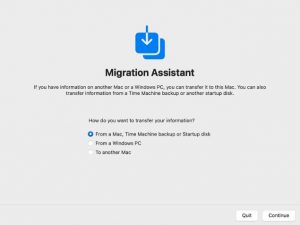
- First, take the New Mac. Go to Applications → Utilities → Migration Assistant. Click on Continue.
- The Migration Assistant will ask for your permission to make changes on your Mac. To allow this you will have to enter your administrator password and click on OK.
- You will then be asked, “How do you want to transfer your information?”. Over here select the first option stating “From a Mac, Time Machine backup or Startup disk. Then click on Continue.
- Now, go back to your old Mac and open up Migration Assistant on it as well.
- When asked “How do you want to transfer your information?”, select the option “Transfer to another Mac”. Click on Continue.
- Go back to your New Mac. Over here you will be asked to select between “other Mac, Time Machine Backup, or other Startup disk”. Select “other Mac” & click on Continue.
- Make sure the security codes on both Macs match each other and then click on Continue.
- Now take your New Mac and select all the files and information you wish to get from the Old Mac. You can also transfer your entire User account.
- Once everything is selected, click on Continue. The process will start, and depending on the amount of data, it might take up hours.
- After the transfer data from Mac to Mac is complete, close the Migration Assistant Application on both of your Macs. You can login and start using your New Mac!
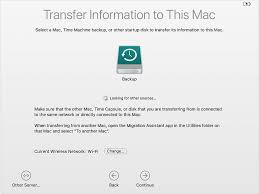
B. Transfer from Backup
Some cases of Macs can have a Time Machine backup. If you have one of these on your old Mac, you can still use the Migration Assistant to transfer data from Mac to Mac, including apps, files, and your entire user account! Follow these steps precisely:
- Connect your Time Machine backup disk to your New Mac and turn it on.
- Follow steps 1 & 2 from the previous set of instructions.
- You will then be asked how you wish to transfer your information. Over here select the first option stating “From a Mac, Time Machine backup or Startup disk”. Then click on Continue.
- Now select the Time Machine Backup before clicking on Continue.
- Select a backup from the list of Backups.
- Now select all the files and information you wish to get from the Old Mac. You can also transfer your entire User account.
- Once everything is selected, click on Continue. The process will start, and depending on the amount of data, it might take up hours.
- After the transfer data from Mac to Mac is complete, close the Migration Assistant Application on both of your Macs. You can login and start using your New Mac!
Conclusion
We hope you could successfully transfer data from Mac to Mac using the Migration Assistant! After the process is completed, you can use your New Mac just like your old one without any complications! If you are planning to give away, trade or factory reset your Mac, make sure you follow these steps before doing so!
If you are looking for an expert repair, care, and laptop rental service in Pune/ the PCMC area, Macviewer is the place. It can assist you with any laptop-related issue in the promised time! Call us today!
Vilas December 19, 2022 MacBook, Laptop tips & tricks