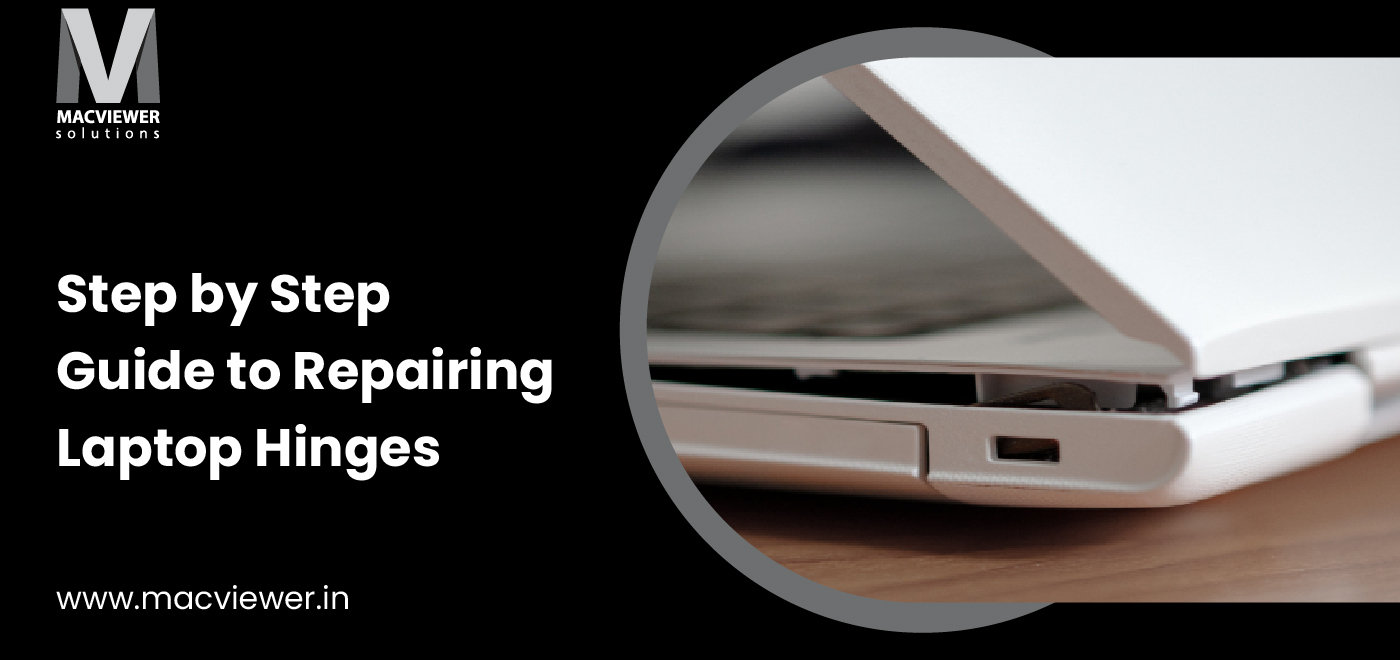
Repair your Laptop Hinges Easily: A Step-By-Step Guide 2023

Is your laptop flap too tight? Or is it too loose? Does it not close smoothly? If the answer to any of these questions is yes, keep reading and find out what could be the possible cause that your laptop hinges are causing trouble and what can be done to resolve the issue. Find out whether laptop hinge repair is required or replacement is the ultimate solution.
3 Common Causes for Laptop Hinge Broken
1. Damaged laptop
If you ever accidentally dropped the laptop or smashed it to a hard surface, it usually affects the hinges and might even break them. It can also be due to mishandling the laptop. No matter how strong the company claims the laptops are, you have to be careful with the hardware.
2. Too much dust
Have you experienced super tight laptop flaps lately? That’s probably because of the dust clogging making the hinges tight. The dust particles obstruct smooth movements.
3. Excess of heat
If your laptop usage is heavier than usual and you spend most of your time on the laptop accessing heavy tasks like animating or video gaming, this might be the cause for damaged laptop hinges. When the laptop throws out an excessive amount of heat, the plastic cover surrounding the hinges may start melting and ultimately damaging the hinges.
Step-by-Step Guide to Repairing Laptop Hinges

If your laptop hinges are too tight or too loose due to overheating of the laptop, make sure you clean the dust around the cooling fans, or you can try replacing the thermal paste. Another solution for laptop overheating can be investing in an external laptop cooler. For more detailed causes & solutions of laptop overheating, refer to this blog – How to Fix Laptop Overheating.
If laptop overheating is not the issue, try repairing the laptop hinges by yourself. Though we do not recommend any DIY tricks if you are not a tech-savvy person, you can always give it a try if you feel you can.
Step 1
Unplug the charger and disconnect the battery from your laptop. This first step is extremely important and makes sure you pay attention to it as trying to open a laptop with a battery connected to a charger may pass current.
Step 2
Detach the keyboard from the laptop base by unscrewing it. Not all laptops have screws connecting keyboards and laptop bases. Make sure you keep the screws safe to reattach them after repairing the laptop hinges.
Step 3
As mentioned before, most of the laptops are designed in a way that laptop hinges are covered under a plastic cover. The next step would be to take it off.
Step 4
Here you can check whether the laptop hinges are broken or covered with dust or simply loosened. Once the exact problem is identified, you can look for the right solution.
Step 5
Implement the solution. If your laptop hinges are loose, you can simply tighten them using a micro screwdriver. If dust is the cause, make sure you clean the hinges and area around it properly. You can also use special alcoholic liquid solutions to clean the laptop’s internal parts.
But if the hinges are broken, you can consider replacing the hinges. For this, you might need the exact measures of the hinges. We strongly recommend replacing the hinges with a professional laptop repair service near you. Many DIY laptop hinge repair blogs & videos suggest fixing broken hinges with gorilla glue epoxy. Even if you are doing this, consult a professional laptop repair engineer beforehand.
Did you know that a broken laptop hinge can affect the screen display cable and damage the display? Laptops are expensive devices and demand supreme care. Hence, it is recommended to consult a professional laptop repair center and get the hinges repaired.
If you are looking for the best laptop repair center in Pune & PCMC, Macviewer is the answer. Don’t let the hinges render your laptop useless. Contact us and get the laptop repaired in the least time possible. Our team of engineers will pick up your laptop, repair it, and deliver it to your doorstep.
Vilas January 24, 2022 Laptop
