How to Hide MacBook Folders And Files? 5 Effective Ways!
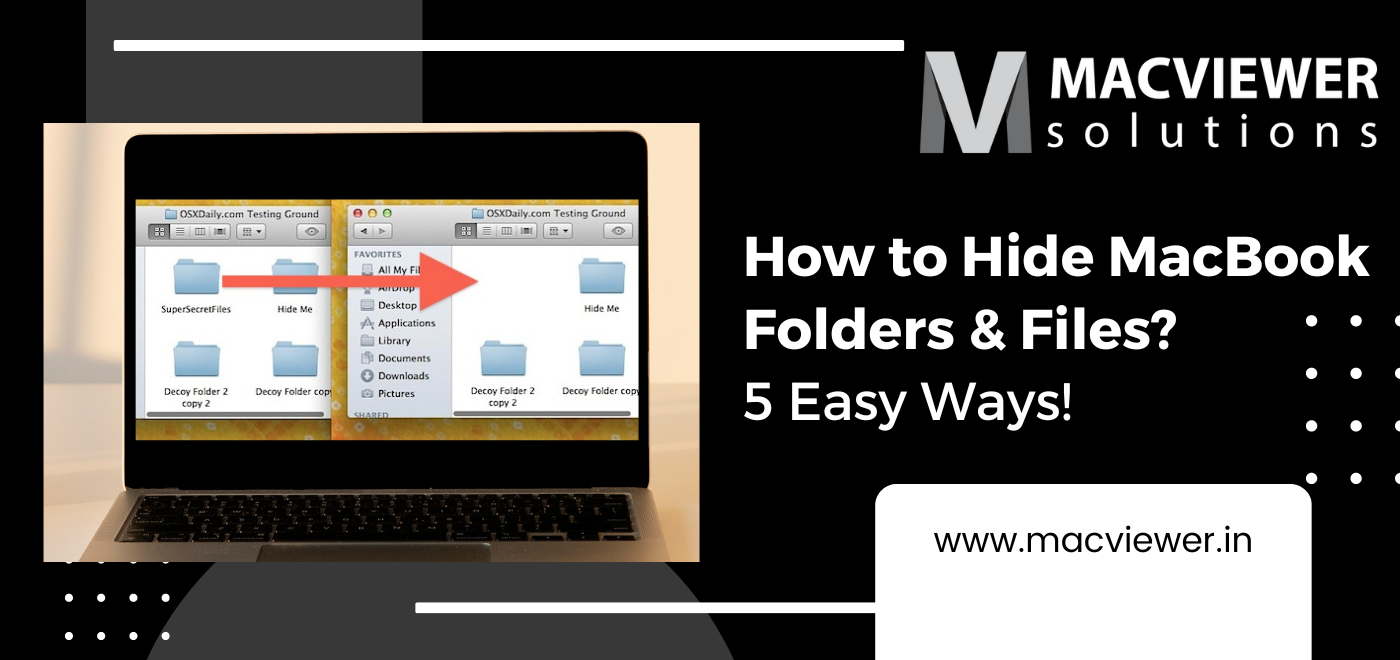
There may be many reasons to hide MacBook folders and files. You might want to stop people from snooping around, especially those who share the device with you. Hiding folders and files also helps conceal personal information from intruders. By doing this, you can also keep certain files safe by storing them away and preventing them from being accidentally deleted. Here are 5 useful ways to hide MacBook folders and files:
5 Easy Ways to Hide MacBook Folders and Files!
1. Using Finder Preferences
This is a simple option to hide and show files and folders in Finder. When the option is turned off, hidden files and folders will not be displayed in Finder. When the option is turned on, hidden files and folders will be displayed in Finder. This method is quick and easy, but not entirely secure, as hidden files can still be accessed if the option to show hidden files is turned on. Follow these steps to hide MacBook folders from Finder:
- Open your Mac’s Finder and navigate to the file/folder you wish to hide.
- Right-click on this file/folder and then select “Get Info”
- In this window, go to the “Visibility” section & check the box next to “Locked”
- Close the window
2. Store Your Files in a Password Protected Disk Image
A disk image is a file that acts like a virtual disk. By storing sensitive files in a disk image, you can password-protect them to keep your files secure and also hide MacBook folders. Disk images can be created and managed using Disk Utility, which is included with macOS. When you create a disk image, you can also specify a password to encrypt the contents of the image.
The disk image will appear as a single file in Finder, and the files within the image will not be visible unless the disk image is mounted and the correct password is entered. Here is how you can create a disk image:
- Open Disk Utility (located in the Utilities folder within the Applications folder).
- Go to File > New Image > Blank Image.
- In the Save dialog, specify a name and location for the disk image, choose “read/write” as the format, and set a size for the disk image.
- Click the “Encryption” drop-down menu and select “AES-128” or “AES-256” to enable encryption.
- Enter and confirm a password to encrypt the disk image.
- Click the “Save” button to create the disk image.
- Once the disk image is created, it will appear as a single file in Finder. You can copy files into the disk image by opening it and dragging and dropping the files into the image. The files within the disk image will be encrypted and will not be visible unless the disk image is mounted and the correct password is entered.
3. Rename Your Folder with a “.” Prefix
By adding a dot in front of the name of a file (e.g. “.secretfile”), you can hide MacBook folders in Finder by default. This method is a relatively quick and easy way to hide files, but it may not be secure, as hidden files can still be seen if any other user knows how to view hidden files in Finder.
4. Using Terminal and chflags Command
The chflags command in Terminal allows you to change the flags on a file or folder, including the “hidden” flag, which makes it invisible in Finder. The “hidden” flag can be set or removed using the Terminal command line. When a file or folder has the “hidden” flag set, it will be hidden from view in Finder, but can still be accessed if you know the path to the file.
This is a useful method to hide MacBook folders and files for technical users who are familiar with using Terminal. Make sure you are familiar with using Terminal as wrong commands can cause irreparable damage to your MacBooks.

5. Use a Third-party Software
There are several third-party apps available to hide MacBook folders discreetly. These apps provide a simple and user-friendly interface for hiding and managing files and often include additional features such as encryption and password protection. If you need to hide files and folders and do not feel comfortable using Terminal or disk images, a third-party app may be a good option for you.
Conclusion
I hope these methods help you hide MacBook folders and files effectively. For more such MacBook “how-to’s”, check out our blog page! If you are living around Pune or the PCMC area, and are facing any laptop or Mac-related issues, you can contact Macviewer. With tech experts, Macviewer is your rental & repair partner. Call us today!
Vilas February 19, 2023 Laptop tips & tricks, MacBook