Ace Using Smart Folders in Your MacBook in 7 Easy Ways!
The MacBook has many features that are less known to the general consensus that uses them. One of these little-known but highly convenient features is Smart Folders. As mentioned in the name, this feature allows you to smartly extract the exact folder, file, or piece of information you were looking for from your database. For people working with huge amounts of files, the Smart Folders feature is a life-saver!
Created in 2004, the Smart Folders feature was created as an integral part of OS X to save time. This feature does not literally contain the source of the folder, but rather creates versions and aliases that connect to the original locations of these files. Here is a step-by-step breakdown of how to launch and make use of the Smart Folders Feature in your MacBook!
Step-By-Step Guide to Launch and Successfully Utilize Smart Folders in Your MacBook
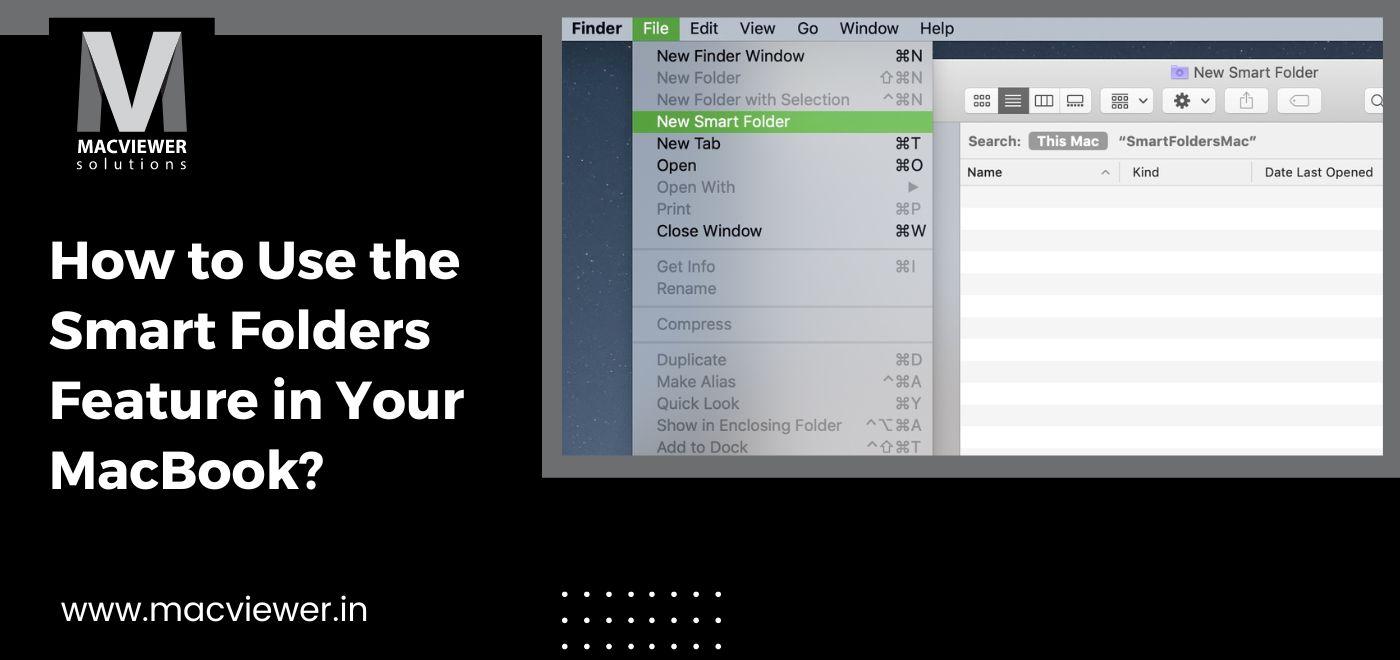
1. First, you need to create a Smart Folder. In the Finder Window, you can begin a new search. Or you can go to File and then select New Smart Folder, or press Command>Option>N on your keyboard.
2. A title bar will appear. In the same, select the location you want your Smart Folder to search in. You can either select multiple folders or a singular folder. A + option will also be visible on the right, which is the criteria selector.
3. Once you click on the +, you will see the words- “Kind” and “Any”. These words will define the criteria, and by clicking on them, a dropdown of options will appear. The default criteria for “Kind” includes- Created Date and Size. Apart from the default, the ‘Kind’ option has over 100 more criteria you can select from. On the other hand, in the “Any” option, you can specify and select document types based on their Application, Document, or other options.
4. While defining the criteria, the catered results will start popping up in the window below. You can further refine and filter by adding newer criteria by simply clicking on the + option. For example, you can shorten the range of time when the folder was created or set the criteria to find files that are more than 1 GB in size. More options can be found in the drop-down menu, or the menu that appears by clicking on the + sign.
5. Using the Save button, you can save your Smart Folder once created successfully! To find your Smart Folder again, go to ‘Saved Searches‘ in the Library Option. While saving, you can also add it to your Mac’s sidebar by clicking on the ‘Add to Sidebar’ button.
6. You can edit your Smart Folders by right-clicking on them. Select on ‘Show Search Criteria’, or open the same option on the gears menu inside a Smart Folder; and change, add, or remove the options to your preference!
7. If you wish to use Smart Folders for specific apps, you can do so by pressing Command F in the Save dialogue box of that application.
Conclusion
Smart Folders are great to find files such as images that were exported 3 months ago from your image gallery, or even music with a particular tempo or duration from your song library! By using multiple types of criteria including values, formats of your file, or size and date ranges, you can categorize your data based on almost anything. Another feature of the Smart Folder is that it will automatically add any new files you create, if relevant enough to the criteria.
If you are in Pune/PCMC, you can use Smart Folders by renting MacBooks from Macviewer, an expert rental, and laptop care service centre. Get your very own MacBook at an affordable price to save time and increase efficiency from Macviewer today!
Vilas July 21, 2022 Laptop tips & tricks, Laptop repair, MacBook