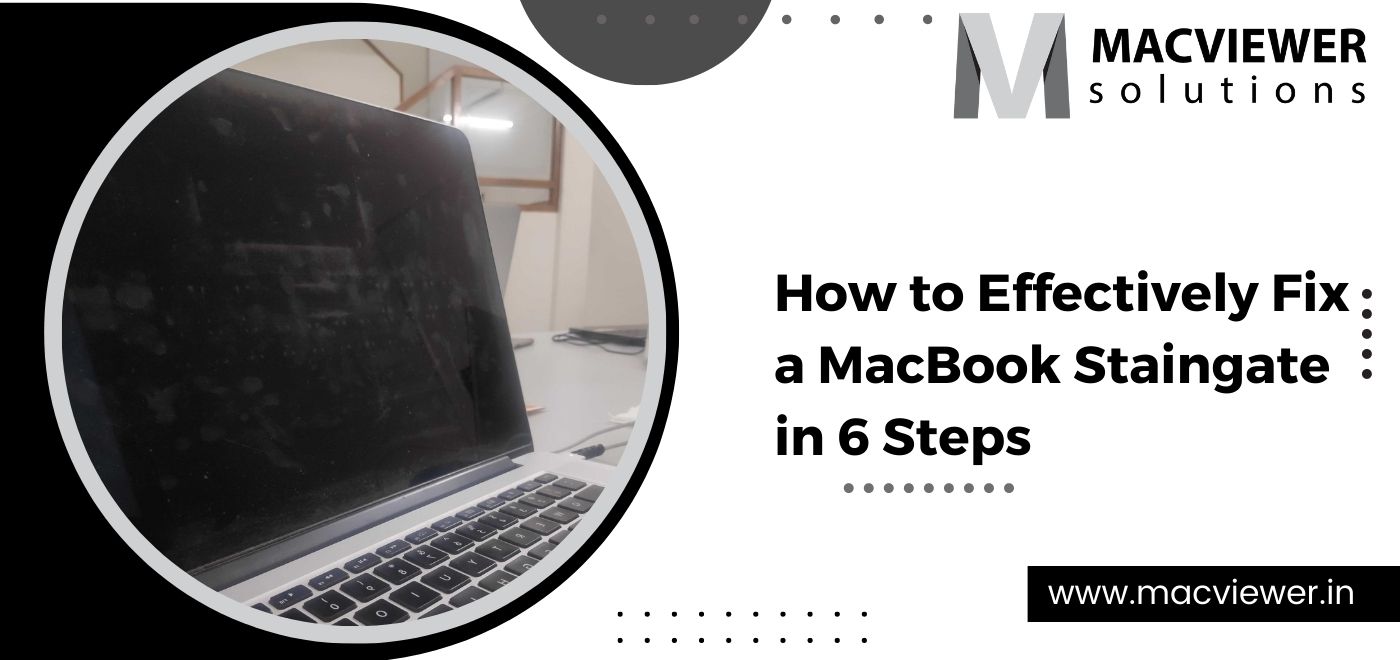
How to Effectively Fix a MacBook Staingate in 6 Best Steps

A MacBook Staingate is most commonly observed in old and heavily misused MacBooks. If you can observe ugly staining on the screen of your laptop, which despite trying refuses to budge, chances are you have a MacBook staingate. Often, the more you try to wipe it, the farther it spreads on your screen. But what exactly is a MacBook Staingate?
What is a MacBook Staingate?
Every MacBook comes with an anti-reflective covering. When this coating wears off, a MacBook Staingate is caused, making your screen look stained. As mentioned above, this usually happens after several and continuous usage of MacBooks. It’s most visible when your brightness is low, or if sunlight is directly hitting your screen. There are many reasons why your MacBook experiences this.
The primary one is continuous screen pressure due to your Mac’s keyboard and trackpad when it’s shut down. But a MacBook staingate can also happen if you overclean it with cleaning solutions or microfiber cloth material. Delamination
The MacBook Staingate is also called delamination, and can get worse if not tended to in time. The reflective screen of your Mac can start peeling off, and as a result, cause damage to your actual screen. It hinders the colors, visuals, and what you see on your screen, and can also spread to harm your webcam. It is a nightmare for users who work with colors and visuals on their Macs. Luckily, you can follow this DIY method to get rid of a staingate at home. Here are the steps to do so!
Get rid of a MacBook Staingate at Home in 6 Steps!
With this DIY technique, you can get rid of your MacBook staingate and make it look brand new! Here are the things you will need:
- Microfiber cleaning cloth material (2)
- Rubber Gloves
- White Vinegar or Listerine
- A MacBook Screen Protector (Optional)

Once you have all these tools in hand, follow these easy steps! Before you start don’t forget to shut down your MacBook and disconnect it from any charging outlet.
- Firstly, dampen your microfiber cloth with water. Make sure the cloth is damp, not wet and dripping. Microfiber cloth is perfect for cleaning technical devices because of its absorbent and durable properties. Once you have dampened the cloth, gently clean your screen. This way, any residing dust and debris on your screen will be cleaned.
- The second step to get rid of a MacBook Staingate is to gear up! Put on your gloves, and make sure they have no tears. Gloves are essential, as not wearing them could be harmful. Next, take a separate microfiber cloth and proceed to dampen it with either White Vinegar or Listerine.
- Using the microfiber cloth, gently wipe your screen in circular motions. This is the most effective and fastest way to clean a MacBook staingate. As mentioned above, the usage of gloves is mandatory while doing this. The MacBook screen has an anti-reflective layer that emits harmful chemicals that should not come in direct contact with your skin.
- Keep cleaning until the staingate comes off. You might have to repeat the cleaning a few more times. You can use more Listerine or white vinegar as well. Don’t take your gloves off!
Once you see all of the MacBook staingate disappear, go back to the first microfiber cloth. Dampen it with water, and re-wipe your screen to get rid of the vinegar or Listerine. You can take your gloves after this step. - The last step is optional. To avoid future MacBook staingate problems, it’s best to attach a protective screen guard to your MacBook. While cleaning with vinegar or Listerine, some or all of the reflective layer can be wiped off. A screen protector can help get some of the anti-glare and anti-reflectiveness back.
Conclusion:
Following these 6 easy steps can help you get rid of your MacBook Staingate at home! If you are not confident about cleaning you can take your MacBook to a repair center. For those living in Pune/ the PCMC area, you can call up Macviewer! Our expert care services are backed by a 10- year long experience in solving screen issues. Give us a call today!
Check out other blogs for DIY MacBook & Laptop Hacks, Fixes, and Tips!
Vilas December 2, 2022 Laptop tips & tricks, Laptop, MacBook
